
detailed instructions
to make cubes as clear as your glass...
Do not be concerned that the ten 2” cube ClearlyFrozen ice cube tray isn’t as bulky, complicated and expensive as other products that make only a few clear cubes. We follow the philosophy that the simplest answer is usually the right one - the ClearlyFrozen ice cube tray makes more with less.
1. The ClearlyFrozen ice cube tray consists of three parts – a blue silicone ice tray, a plastic liner and a white foam box. THE FOAM BOX IS NOT PACKING MATERIAL - DO NOT DISCARD!
2. Please be sure to hand wash the blue silicone tray and the plastic liner thoroughly with soap and hot water before using for the first time – do not place in a dishwasher. The foam box will not come in contact with your ice, and does not need to be washed.
3. To use, simply put the plastic liner into the foam box, partially fill the plastic liner with water, scrunch up and put the blue tray into the plastic liner, top the blue tray off to the rim and put the whole assembly into the freezer.
4. There is no need to filter, boil or otherwise treat the water - ordinary tap water is fine.
5. ClearlyFrozen ice is made using “directional freezing.” Ice made at home normally freezes from all sides, trapping a cloud of dissolved air in the middle. By contrast, the ClearlyFrozen foam box insulates the sides and bottom of the ice tray, so the ice freezes from the top down, pushing the cloud down and out through the little holes in the tray bottom.
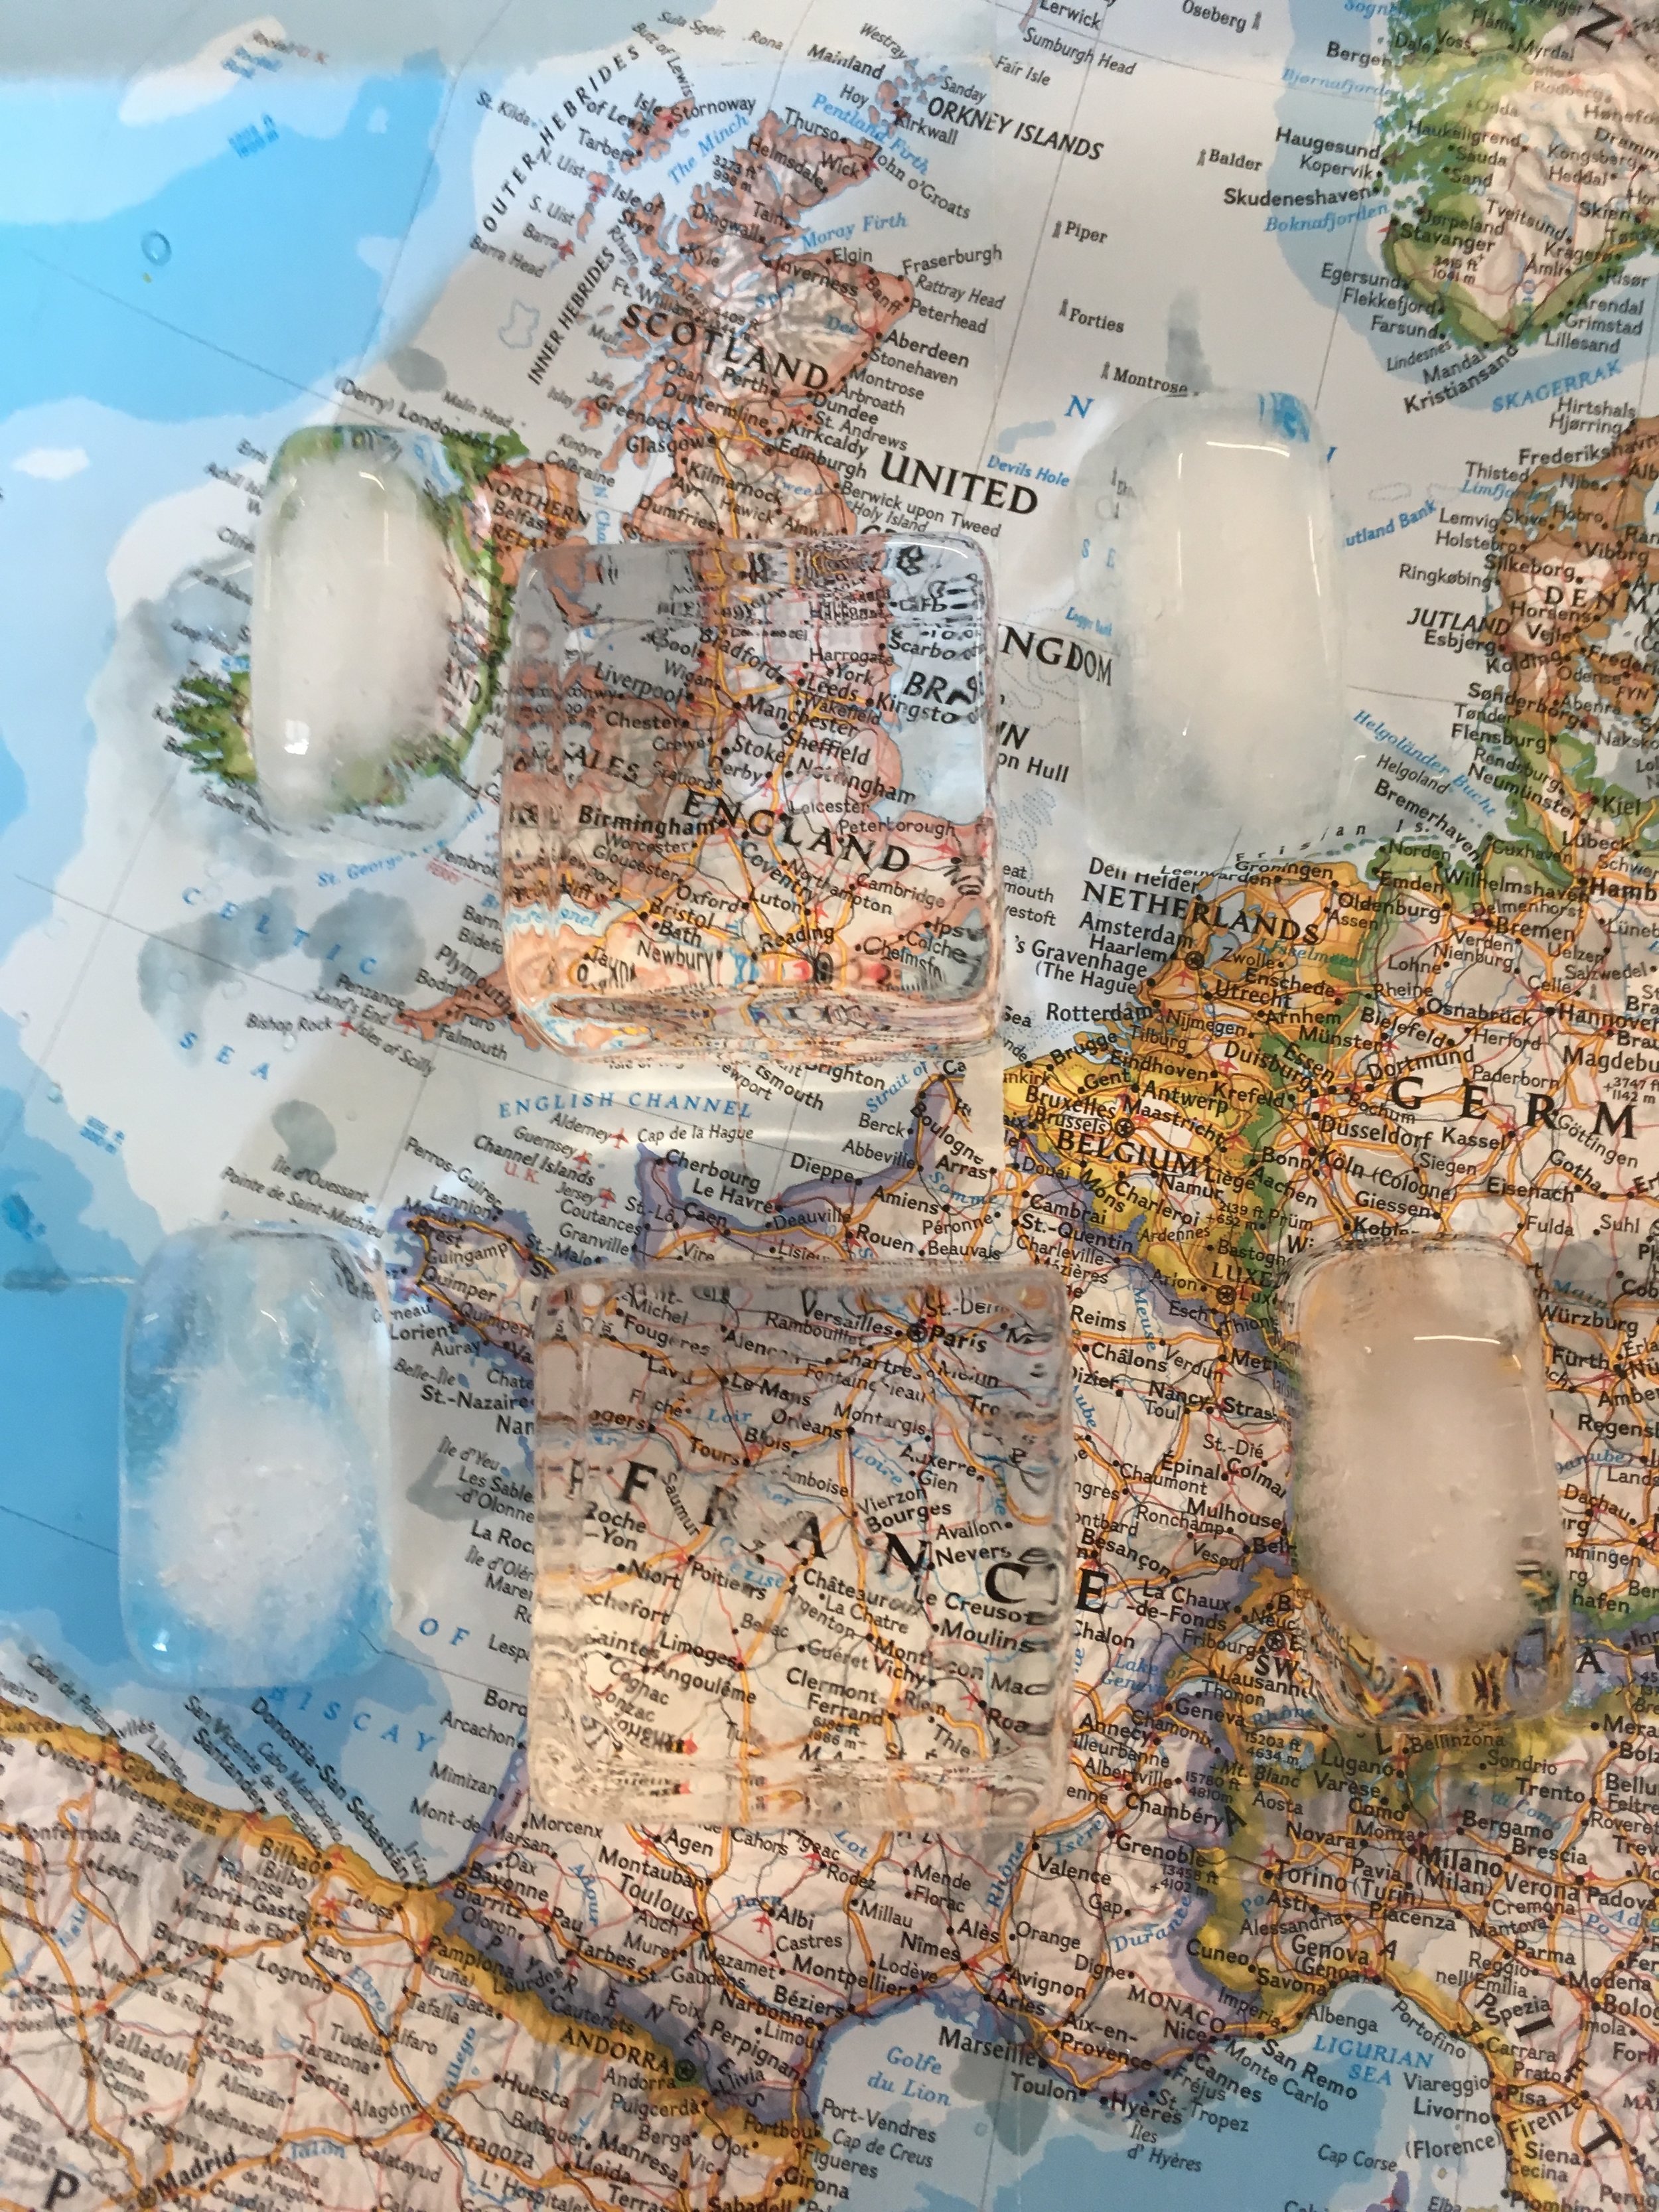
Look at England and France under 2" of ClearlyFrozen ice, while the rest of Europe is obscured by normally cloudy homemade ice.
6.The "directional freezing" process works properly when there is a reservoir of liquid water underneath the blue mold. If the water underneath freezes, it forces part of the cloud back up into the bottoms of the cubes, makes the ice difficult to remove and can also over-stress and crack the liner..
7. The key is to pull the cubes and store them separately once they have frozen about to the bottom of the blue mold, and before there is much freezing underneath. Timing depends on your freezer and might take a couple batches to pin down - you can try 16-18 hours and adjust longer or shorter based on results.
8. If the ClearlyFrozen tray/liner/box assembly is difficult to separate after freezing, do not force it apart – allow it to thaw until it comes apart easily. If the blue mold is hard to pull out of the liner, it is usually because there is some suction holding it in place. You can free the blue mold by gently prying the long sides of the liner away from the mold to let some air in and reduce the suction holding the mold in.
9. Do not store ClearlyFrozen ice in the tray/liner/box assembly. After freezing, ice should be removed from the tray and stored in an ice bin or bag - a plastic bag is fine, but a paper bag will absorb excess moisture and help prevent the cubes from sticking to each other.
10. Before you place ClearlyFrozen ice in a drink, leave it out at room temperature for a few minutes - this helps prevent cracking.
11. If a white residue begins to build up on the blue tray, it can be cleaned off with a vinegar/water mixture. The residue is calcium sulfate, a harmless natural component that is in your drinking water.